Acrylic is a versatile and widely-used material in various industries. From plastic sheets and panelling to screens and even jewellery, its weather resistance, flexibility, and durability make it useful in an array of applications.
However, to make acrylic into specific shapes or sizes, it needs to be machined properly. But what is acrylic machining, and how does it work? Here’s all you need to know about machining acrylic plastic, including the necessary equipment and techniques.
What do we mean by “machining acrylic”?
Acrylic plastic is an incredibly useful material. However, raw acrylic sheets are typically manufactured in standard sizes and shapes, which aren’t always ideal for specific projects or products. If you need acrylic in an irregular size or shape, it needs to go through ‘machining.’
Machining acrylic refers to the process of cutting, drilling, milling, or shaping acrylic plastic sheets into desired forms or designs. It’s an essential step in producing acrylic as it allows manufacturers to create custom designs.
What equipment do you need to machine acrylic?
To machine acrylic, you can use a few different tools and methods:
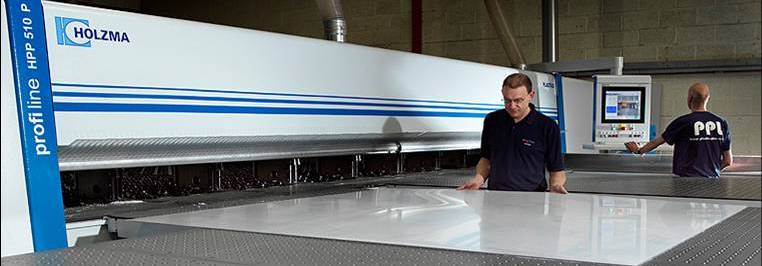
- A CNC router: This is a computer-controlled cutting machine that can cut acrylic sheets into precise shapes and sizes. It is the most common equipment used in acrylic fabrication due to its accuracy and efficiency.
- Laser cutter: A laser cutter uses a high-powered laser beam to cut or engrave acrylic sheets. If you want to produce intricate designs or shapes, laser cutting is an excellent method.
- Circular saw: If you need to machine thicker acrylic plastic sheets (up to 2 inches thick), your best bet is to use a circular saw with a carbide-tipped blade.
- Drill bits: A slow-speed drill bit is ideal for drilling holes in acrylic without causing the plastic to crack or melt.
- Clamps and hold-downs: These are essential for keeping your plastic sheets in place as you cut or drill.
Techniques for machining acrylic
Once you have your tools ready, you can try a range of techniques to machine your acrylic in a way that will produce the best results for your needs.
Cutting
Whether you use a circular saw or CNC router, it is crucial to use a sharp blade to ensure a clean and smooth cut. It’s also essential to maintain a slow and steady speed while cutting to avoid melting or cracking the plastic.
It can be helpful to place masking tape on the surface of the acrylic sheet to prevent chipping or cracking.
Drilling
To drill holes in acrylic sheets, it is essential to support the plastic sheet, use a slow drill speed and apply light pressure. Using a drill bit with a diameter slightly larger than the hole required will prevent the acrylic from cracking.
We recommend creating a pilot hole before drilling the actual hole — this will prevent the drill bit from slipping.
Milling
Another way to shape acrylic sheets is to mill it. Milling is the process of removing material from the surface of the acrylic sheet. You’ll need a milling machine with a sharp-end mill for this. As with cutting, it’s vital to maintain a slow and steady speed to avoid chipping or melting the acrylic.
Polishing
Polishing is the final stage in acrylic machining. This step helps remove any rough edges or scratches left after cutting or milling. You can use a buffing wheel or polishing compound, for smooth and glossy finish.
Plastic sheets and panelling from Plastics Plus
Machining acrylic is necessary if you want to create custom shapes and get the desired finish on your plastic products. Before you start cutting, drilling, or milling, however, it’s important to start with high-quality acrylic plastic sheets from reputable suppliers. At Plastics Plus, we offer a range of acrylic plastic sheets in various sizes and thicknesses.
Get in touch to discuss the best plastic sheets and panelling for your needs.